What is Window Tinting?
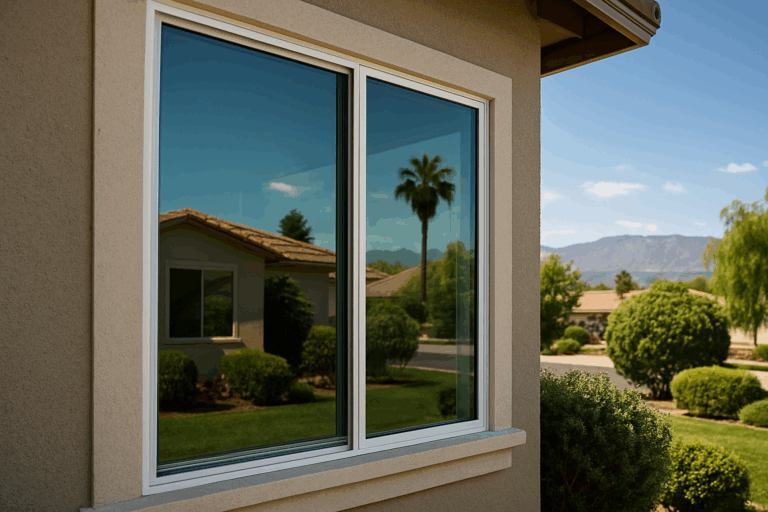
Window tinting, also known as window film, is a thin laminate film applied to the interior or exterior surface of glass windows. This film is designed to provide various benefits, including enhanced privacy, reduced glare, protection from ultraviolet (UV) rays, and improved energy efficiency.
The primary purpose of window tinting is to regulate the amount of light and heat entering a building or vehicle. By blocking a significant portion of the sun’s rays, tinted windows can help maintain a comfortable interior temperature, reducing the need for excessive air conditioning and lowering energy costs.
Window tint films come in different types and shades, each offering varying levels of protection and privacy. Some common types include:
- Dyed Window Film: This is the most basic and affordable type of window tint. It is made by dyeing the film material with a colored pigment, which blocks a certain percentage of visible light.
- Metalized Window Film: This type of film contains microscopic metallic particles that reflect a portion of the sun’s heat and infrared rays, providing enhanced heat rejection and energy efficiency.
- Ceramic Window Film: Considered the premium option, ceramic window tints are non-metallic and offer superior heat rejection, UV protection, and optical clarity. They are also scratch-resistant and more durable than other types of window films.
- Security Window Film: In addition to the benefits of regular window tints, security films are designed to hold glass fragments together in the event of breakage, providing an added layer of safety and security.
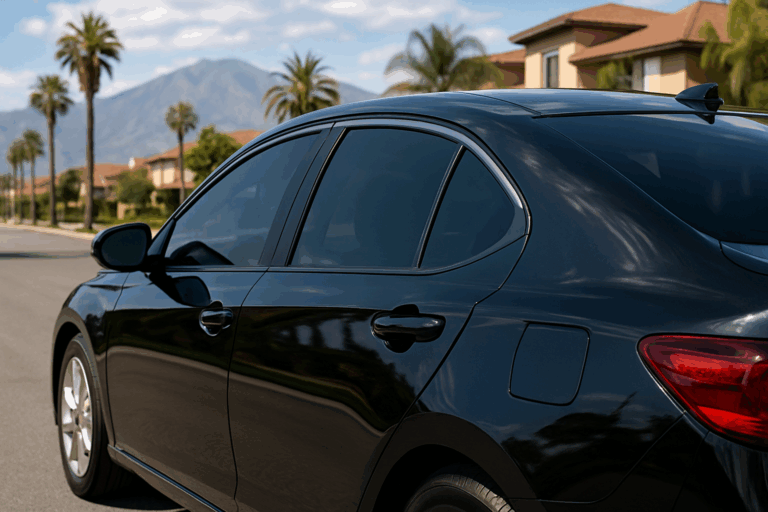
Window tinting is widely used in residential, commercial, and automotive applications, offering a range of benefits from increased privacy and reduced glare to improved energy efficiency and UV protection.
Is DIY Window Tinting Possible?
While it is technically possible to tint your car’s windows yourself, it is a challenging task that requires proper tools, training, and a significant amount of skill and experience. DIY window tinting is often not recommended for novices, as it can lead to unsatisfactory results, bubbles, creases, or even damage to the window if not done correctly.
The process of window tinting involves carefully cutting and applying a thin, adhesive film to the interior surface of the car’s windows. It requires precision, patience, and a steady hand to ensure a smooth and wrinkle-free application. Even the slightest mistake can result in an unsightly appearance or premature peeling of the tint.
Additionally, DIY window tinting may not comply with local regulations and laws regarding the allowable level of tint darkness and visibility requirements. Professional window tinting shops are knowledgeable about these regulations and can ensure that your tint meets the legal standards in your area.
While DIY window tinting may seem like a cost-saving option, it can quickly become more expensive if mistakes are made and the process needs to be redone or if professional assistance is required to correct any issues. Furthermore, professional window tinting often comes with warranties and guarantees, providing peace of mind and protection for your investment.
Tools and Materials Needed
To successfully tint your windows yourself, you’ll need to gather the following tools and materials:
- Window tint film (dyed or metalized, available in different shades and levels of privacy)
- Tint solution or slip solution (helps the tint film glide smoothly over the glass)
- Squeegees (for spreading the tint solution and removing air bubbles)
- Utility knife or blades (for trimming excess tint film)
- Lint-free cloths or paper towels
- Masking tape
- Scissors
- Spray bottle
- Scraper or hard card (for pushing out air bubbles)
Before starting the tinting process, it’s crucial to properly clean and prepare the windows. Use a glass cleaner and lint-free cloths to remove any dirt, dust, or residue from the glass surface. This ensures a smooth and bubble-free application of the tint film. Additionally, it’s recommended to work in a clean, well-lit area with a flat surface to lay out the tint film.
Step-by-Step DIY Window Tinting Process
- Prepare the Workspace: Clear a large, clean area to work on the window tinting project. Ensure the surface is free from dust and debris that could get trapped between the tint film and the glass.
- Clean the Windows: Thoroughly clean the windows, both inside and out, using a glass cleaner and a lint-free cloth. Any dirt or residue left on the glass can create bubbles or imperfections once the tint is applied.
- Measure and Cut the Tint Film: Carefully measure the dimensions of each window and use a sharp utility knife or scissors to cut the tint film to size, leaving an extra inch or two on each side for trimming later.
- Apply the Slip Solution: Spray a slip solution (a mixture of water and a few drops of baby shampoo or dishwashing liquid) generously onto the window and the adhesive side of the tint film. This solution helps the film slide into place and prevents premature sticking.
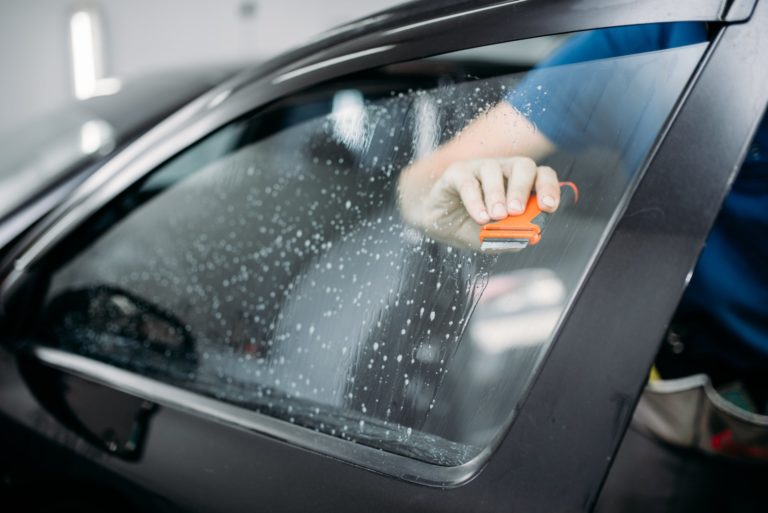
- Position the Tint Film: With the slip solution still wet, position the tint film onto the window, starting from the top and working your way down. Use a squeegee or a hard card to smooth out any bubbles or wrinkles, working from the center outwards.
- Trim Excess Film: Once the tint film is in place, use a sharp utility knife or a specialized tint trimming tool to carefully trim away the excess film around the edges of the window.
- Squeegee and Dry: Use the squeegee or a hard card to firmly press the tint film onto the window, removing any remaining water and bubbles. Wipe away any excess solution with a clean, dry cloth.
- Allow Proper Curing Time: Most tint films require a curing period of several days to fully adhere to the glass. During this time, avoid rolling down the windows or exposing the tinted areas to excessive moisture or heat.
Throughout the process, watch out for potential issues such as:
- Bubbles or wrinkles in the tint film, which can distort visibility.
- Trapped dust or debris, which can create unsightly blemishes.
- Uneven application or gaps around the edges, which can lead to peeling or moisture intrusion.
- Improper curing, which can cause the tint to fail prematurely.
It’s essential to follow the manufacturer’s instructions carefully and work with patience and precision to achieve a professional-looking result.
Common Mistakes in DIY Window Tinting
One of the biggest challenges in DIY window tinting is avoiding bubbles, creases, peeling edges, and streaks from improper application. Even the slightest mistake can ruin the entire tint job, leaving your windows looking unprofessional and unsightly.
Bubbles are a common issue that can occur when air gets trapped between the tint film and the glass surface during installation. These bubbles not only detract from the overall appearance but can also compromise the tint’s performance and longevity.
Creases are another frequent problem, often caused by mishandling or improper stretching of the tint film during application. These creases can create unsightly lines and distortions, ruining the sleek, uniform look that window tinting is meant to achieve.
Peeling edges are a frustrating issue that can occur when the tint film is not properly adhered to the glass surface. Over time, the edges may start to lift, allowing moisture and dirt to seep in, further compromising the tint’s appearance and functionality.
Streaks and uneven application are also common pitfalls in DIY window tinting. These issues can arise from improper cleaning of the glass surface, incorrect application techniques, or using low-quality tint films. Streaks and uneven application can make the tint job look amateurish and detract from the intended aesthetic.
While DIY window tinting may seem like a cost-effective option, these common mistakes can quickly turn a money-saving endeavor into a costly and frustrating experience. Addressing these issues often requires removing the tint film and starting over, wasting time, money, and effort.
Advantages of Professional Window Tinting
While DIY window tinting is possible, there are several advantages to having your windows tinted by professionals:
Experience: Professional window tinters have extensive experience and expertise in the field. They have tinted countless vehicles and buildings, giving them a deep understanding of the nuances involved in achieving a flawless finish. Their experience allows them to navigate challenges and avoid common pitfalls that DIYers may encounter.
Proper Tools and Techniques: Professional window tinting companies invest in high-quality tools and equipment specifically designed for the job. They use specialized squeegees, heat guns, and cutting tools to ensure precise application and a seamless finish. Additionally, they have access to industry-grade tinting films and employ techniques that maximize the film’s longevity and performance.
Warranty and Guarantee: Reputable professional window tinting companies stand behind their work by offering warranties and guarantees. This protection ensures that if any issues arise due to workmanship or material defects, you’ll have the problem addressed at no additional cost. DIY tinting projects rarely come with such assurances.
Guaranteed Quality Results: Professional window tinters take pride in their work and strive to deliver outstanding results every time. Their expertise and attention to detail ensure that the tint is applied evenly, without bubbles, creases, or other imperfections. The end result is a sleek, professional-looking finish that enhances the appearance of your vehicle or building while providing the desired benefits of window tinting.
By choosing professional window tinting services, you can enjoy peace of mind knowing that the job will be done right the first time, with minimal hassle and maximum satisfaction.
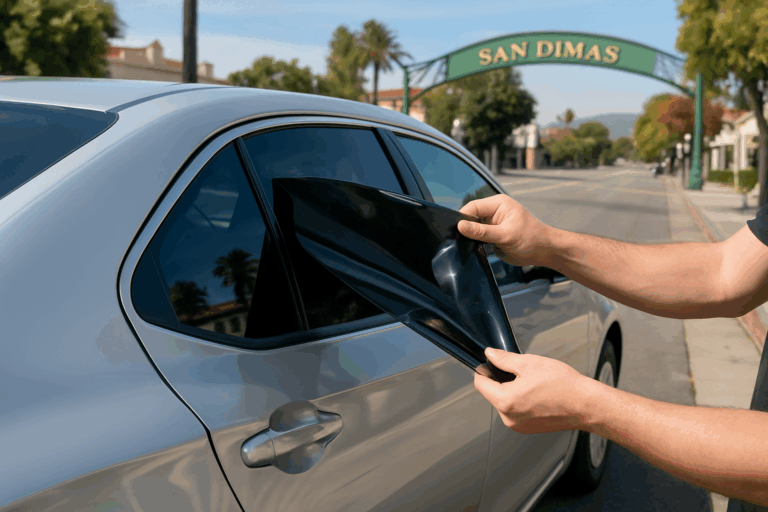
Introducing Tint City – A 3M Pro Shop
Tint City is a premier window tinting service provider located in San Dimas, California. As a 3M Authorized Pro Shop, they offer top-of-the-line window tinting solutions using genuine 3M films and products. With a team of highly skilled and certified installers, Tint City ensures that every window tinting job is executed with precision and professionalism.
At Tint City, you can expect a wide range of window tinting options, including solar control films, security films, privacy films, and decorative films. Their 3M window tints are designed to provide superior heat rejection, UV protection, glare reduction, and enhanced privacy, all while maintaining optimal visibility and aesthetic appeal.
What sets Tint City apart is their commitment to using only the highest quality 3M window tinting films. These films are engineered to be durable, long-lasting, and easy to maintain, ensuring that your investment in window tinting will provide lasting benefits for years to come.
Tint City’s certified installers have undergone extensive training and possess the expertise necessary to handle even the most complex window tinting projects. Whether you need tinting for your car, home, office, or commercial building, their skilled technicians will meticulously measure, cut, and apply the films to ensure a seamless and flawless installation.
Window Tinting Process at Tint City
At Tint City, a 3M Pro Shop in San Dimas, CA, we follow a comprehensive process to ensure top-notch window tinting results for our customers. Here’s what you can expect:
Consultation: Our experienced professionals will sit down with you to understand your specific needs, preferences, and the type of vehicle you have. We’ll discuss the various tint options available, their benefits, and help you select the perfect solution that meets your requirements.
Preparation: Before the installation process begins, our team thoroughly cleans and prepares the vehicle’s windows. This step is crucial to ensure proper adhesion and longevity of the tint film.
Tint Selection: Tint City offers a wide range of premium 3M window tint films, including various shades, levels of heat rejection, and privacy options. We’ll guide you through the selection process, considering factors like climate, driving habits, and personal preferences.
Installation Process: Our certified technicians follow a meticulous process to install the window tint film. They use state-of-the-art tools and techniques to ensure a seamless, bubble-free application. Each window is carefully measured, cut, and installed with precision, ensuring a perfect fit and optimal performance.
Aftercare: Once the installation is complete, we provide detailed instructions on how to care for your newly tinted windows. This includes recommendations on cleaning methods, avoiding potential damage, and maintaining the tint’s longevity.
At Tint City, we take pride in our commitment to excellence and customer satisfaction. Our goal is to provide you with a superior window tinting experience, ensuring your vehicle not only looks great but also offers enhanced comfort, privacy, and protection from harmful UV rays.
Cost Comparison: DIY vs Professional
When it comes to window tinting, the cost difference between a DIY approach and professional installation can be significant. Let’s break down the expenses involved in each option:
DIY Window Tinting Costs:
- Window Tint Film: Depending on the quality and brand, tint film can cost anywhere from $50 to $200 or more for a standard vehicle.
- Tools and Supplies: You’ll need to purchase a squeegee, application solution, razor blades, and other tools, which can add up to $50 or more.
- Time and Labor: While you save on labor costs, the time and effort required for a DIY installation can be substantial, especially if you’re inexperienced.
Professional Window Tinting Costs:
- Professional Installation: Most reputable tint shops charge between $200 and $500 for a standard vehicle, depending on the type of tint, number of windows, and vehicle size.
- High-Quality Tint Film: Professional installers typically use premium tint films from reputable brands, ensuring better quality, durability, and warranties.
- Expertise and Efficiency: Professionals have the necessary skills, experience, and specialized tools to ensure a flawless installation with minimal risk of errors or bubbles.
It’s important to note that while the upfront cost of DIY window tinting may seem appealing, the potential for mistakes, subpar results, and lack of warranties can make it a more expensive endeavor in the long run. Professional installation not only guarantees a high-quality finish but also offers peace of mind and often comes with warranties and guarantees.
When to Consider Professional Installation
While DIY window tinting is possible for smaller, flat surfaces, it’s recommended to seek professional installation for more complex projects. Intricate window shapes, such as those found in modern vehicles or homes with curved glass, can be challenging to tint evenly without proper training and experience. Attempting to tint these surfaces yourself may result in bubbles, wrinkles, or uneven coverage, compromising the aesthetic appeal and functionality of the tint.
Additionally, large surface areas like those found in commercial buildings or oversized residential windows can be physically demanding and time-consuming to tint on your own. Professional installers have the necessary tools and techniques to handle these projects efficiently and with precision.
Furthermore, professional window tinting companies often provide warranties on their workmanship and materials, ensuring that any issues or defects will be addressed promptly. This peace of mind is invaluable, as it protects your investment and guarantees long-lasting, high-quality results.
At Tint City, a 3M Pro Shop, their experienced technicians are trained to handle even the most complex window tinting projects, ensuring flawless installation and a seamless finish. With their expertise and the backing of a reputable brand like 3M, you can rest assured that your windows will be tinted to perfection, enhancing the appearance, comfort, and privacy of your space.